Mountain Bike Suspension Replacement
The inspiration
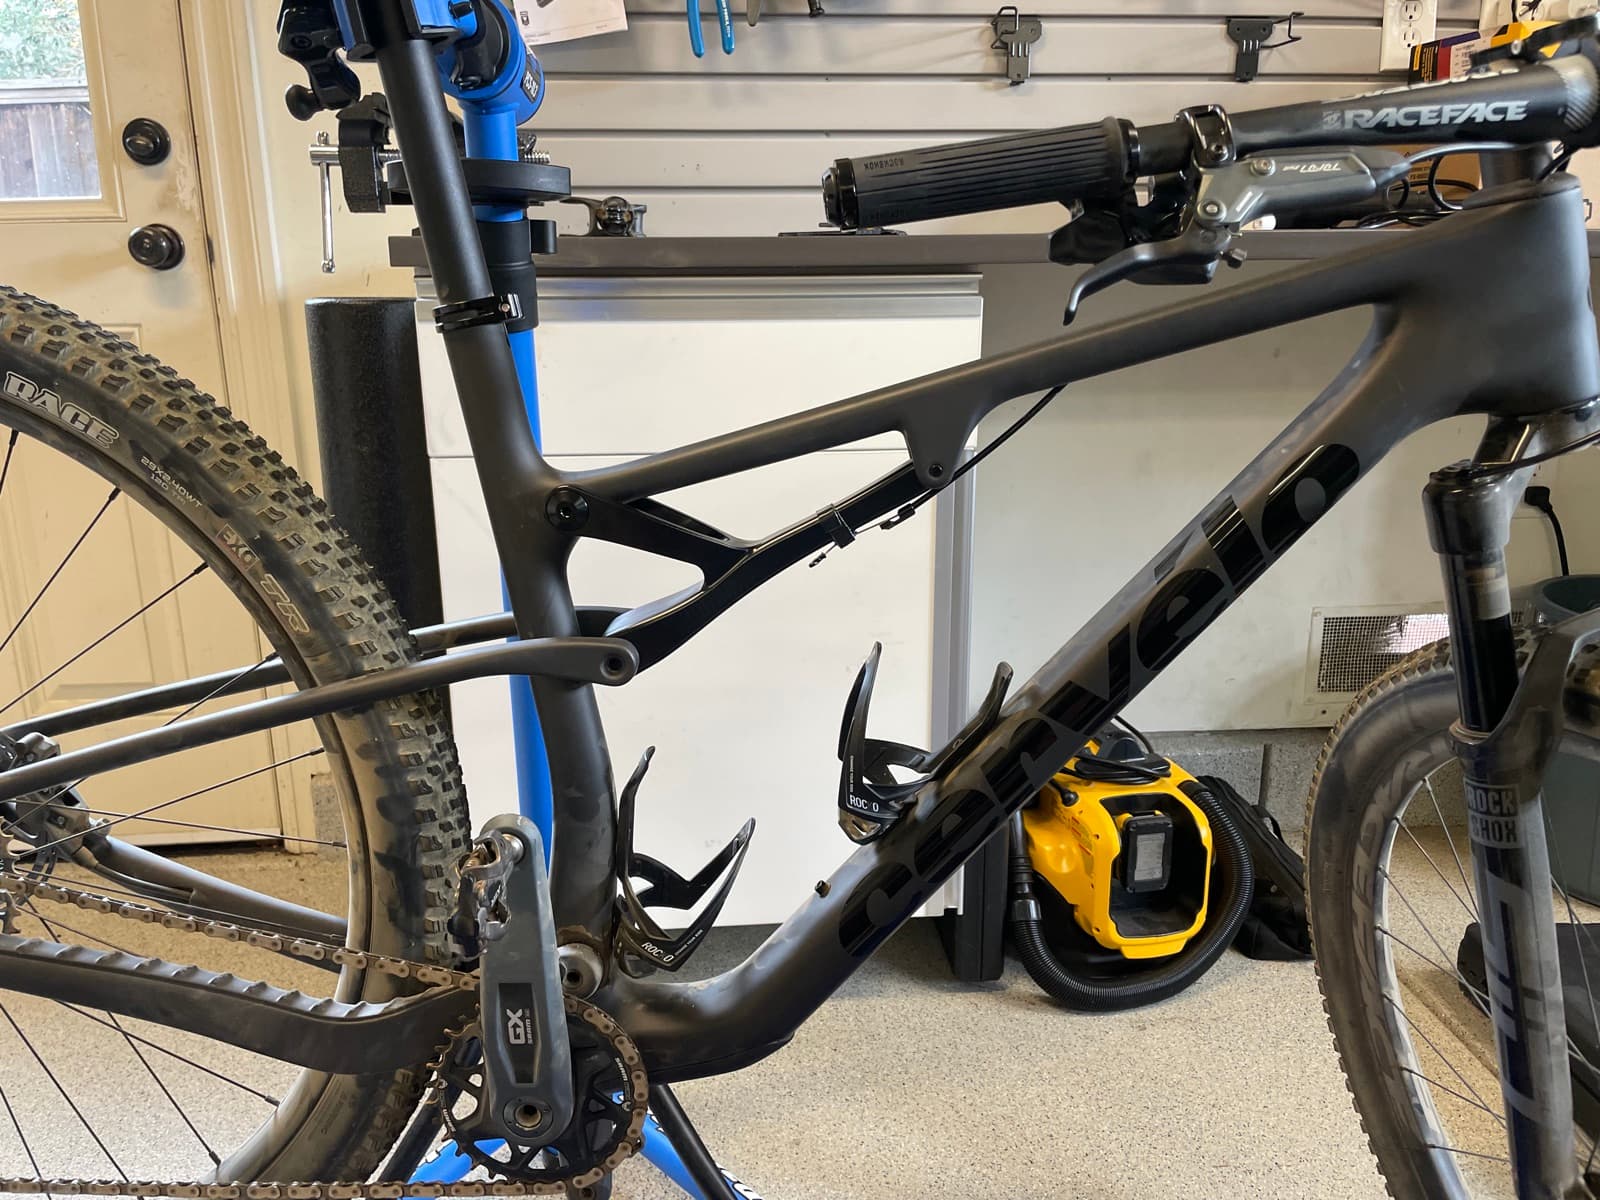
In 2024 I got my first mountain bike, a Cervélo ZFS-5, and I was deep in the process of upgrading every part of it, water bottle mounts, tubeless tires, a Garmin mount on the stem. While researching, I came across a fascinating detail: in 2023, Cervélo rider Milan Vader and his team found a loophole in the race regulations that let them convert his ZFS-5 into a hardtail for the short-course portion of a competition. They did it with a single aluminum piece that sat where the rear shock normally goes.
I had the exact same bike, so I thought, why not do the same thing myself? I cyber-sleuthed for every piece of reference material I could find and dug up the documentation for my frame. To be honest, the documentation was scarce and not particularly helpful, so I was mostly on my own.
Reverse-engineering the geometry
I broke out my calipers, measuring tape, and ruler and measured everything on the bike, 3D-printing test parts along the way to confirm my assumptions about each dimension. Once I felt confident, I Frankenstein-CAD'd a rough version of the part and printed it. The first iteration's geometry was off, and it didn't fit.
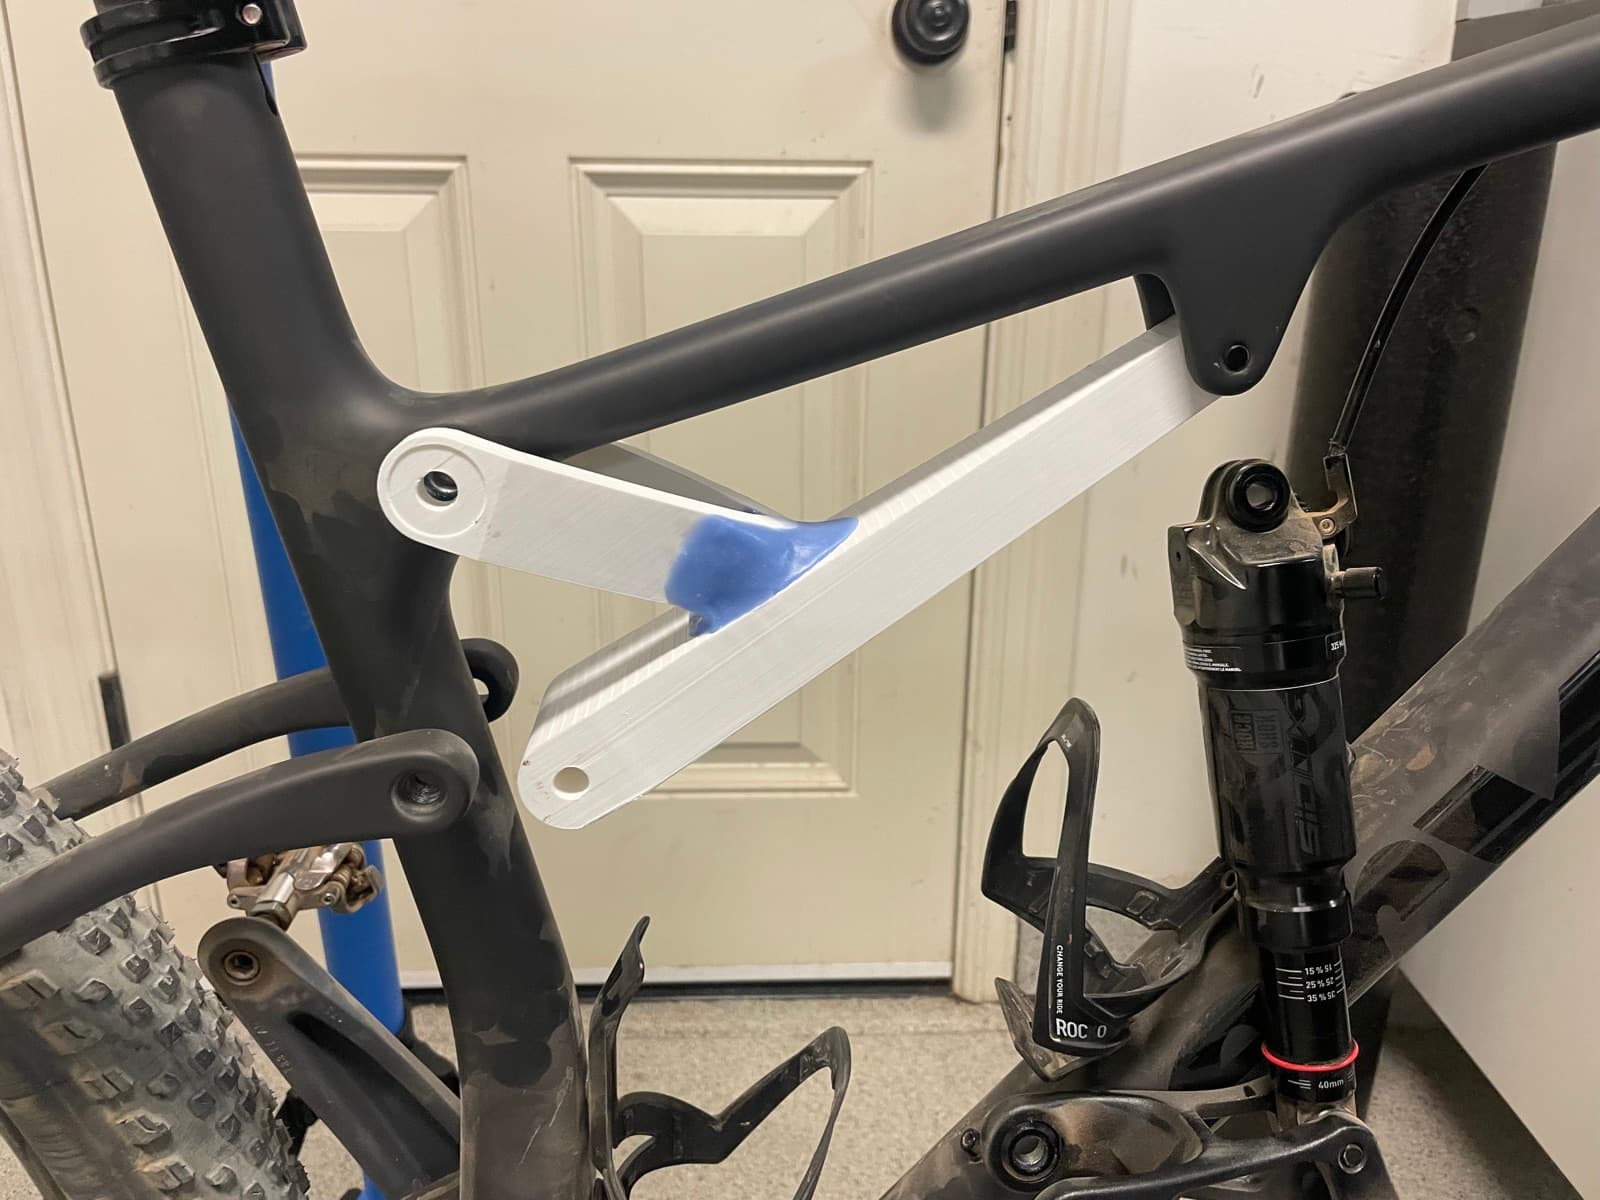
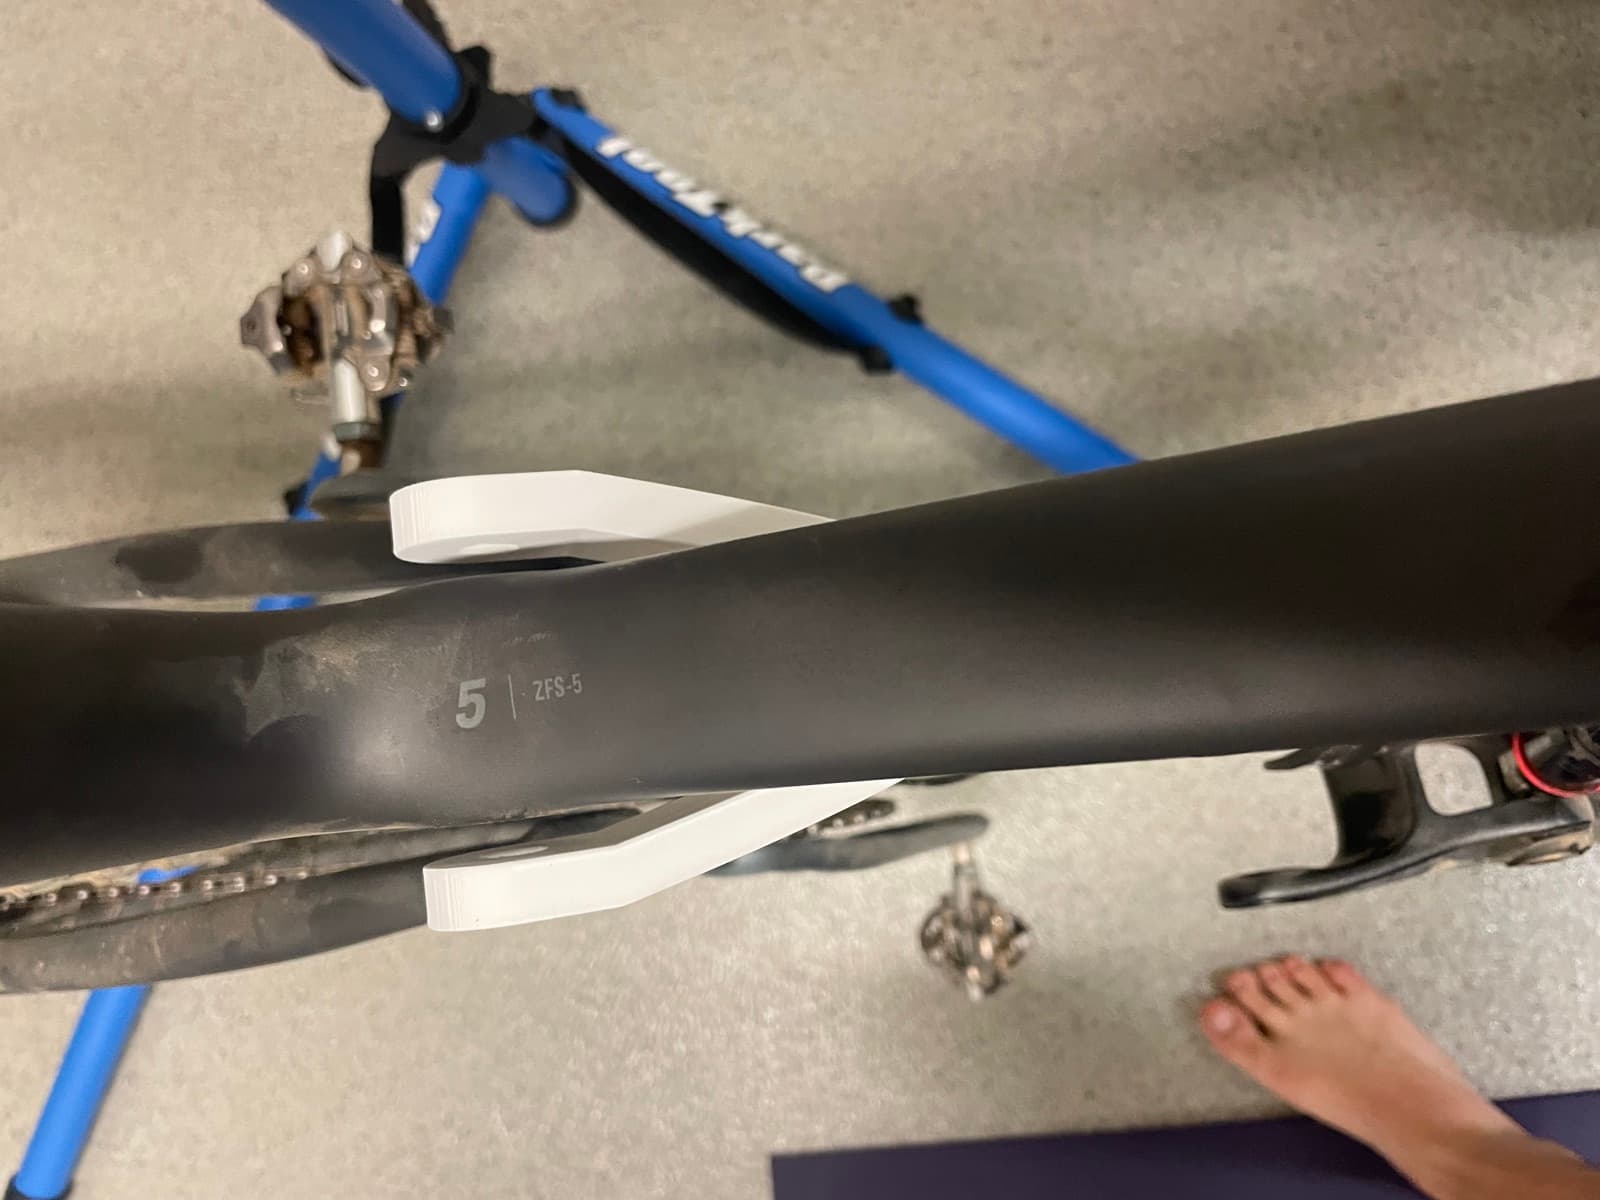
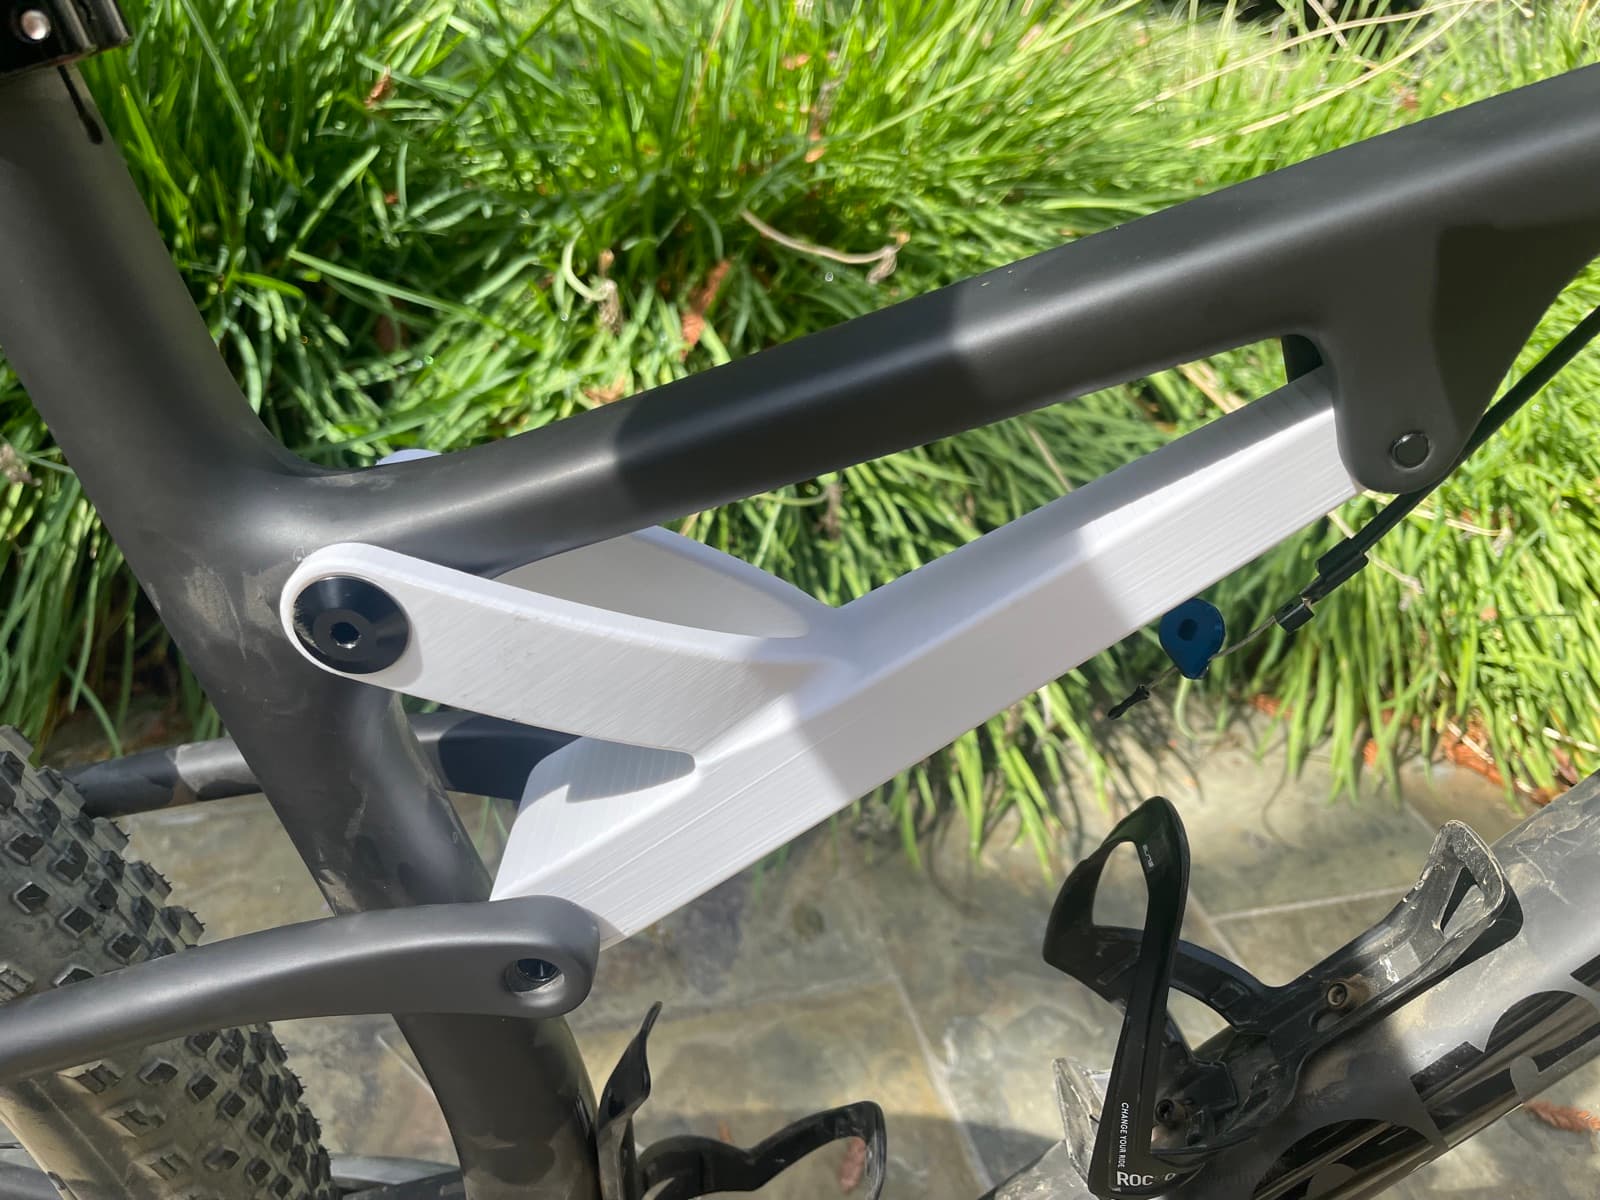
So I went back, took more measurements, and kept revising the CAD until I had a printed part that actually fit, in 100% infill PLA. With enough confidence built up, I installed it, sat on it, and rode. To my surprise, the PLA didn't shatter and send me flying, I could ride around on it.
Cutting the weight
With the geometry nailed down, the real challenge began: the replacement had to be lighter than the original shock and linkage it was standing in for. That meant stripping away everything but the essential geometry while keeping the part structurally sound.
My first instinct was to reverse-engineer how Cervélo's engineers made theirs look so fluid and refined, so, like any resourceful maker, I emailed them. The joy of seeing a reply from a Cervélo engineer in my inbox was immense, but short-lived as they weren't able to share anything about the material or how they'd refined the geometry through FEA or testing. Disappointing in the moment, but in hindsight it was the best thing that could have happened, because it forced me to solve the problem myself.
So I researched how to properly refine a part like this, and the answer was overwhelmingly FEA, using simulation to find the regions carrying the least stress, which are exactly the regions where you can afford to remove material. I got to work in Fusion 360's FEA tools, learning the setup and constraints needed to see where the part was and wasn't loaded. From there it was pure iteration: run a simulation, study the stress map, shave away a little more material, tweak the shape, and repeat. After about 15 rounds, I had a design I was genuinely happy with.
Manufacturing the final part
The final design came out roughly 75 grams lighter than the original shock-and-linkage combination, machined in 7075 aluminum for rigidity and strength and anodized black. I had it manufactured through PCBWay.
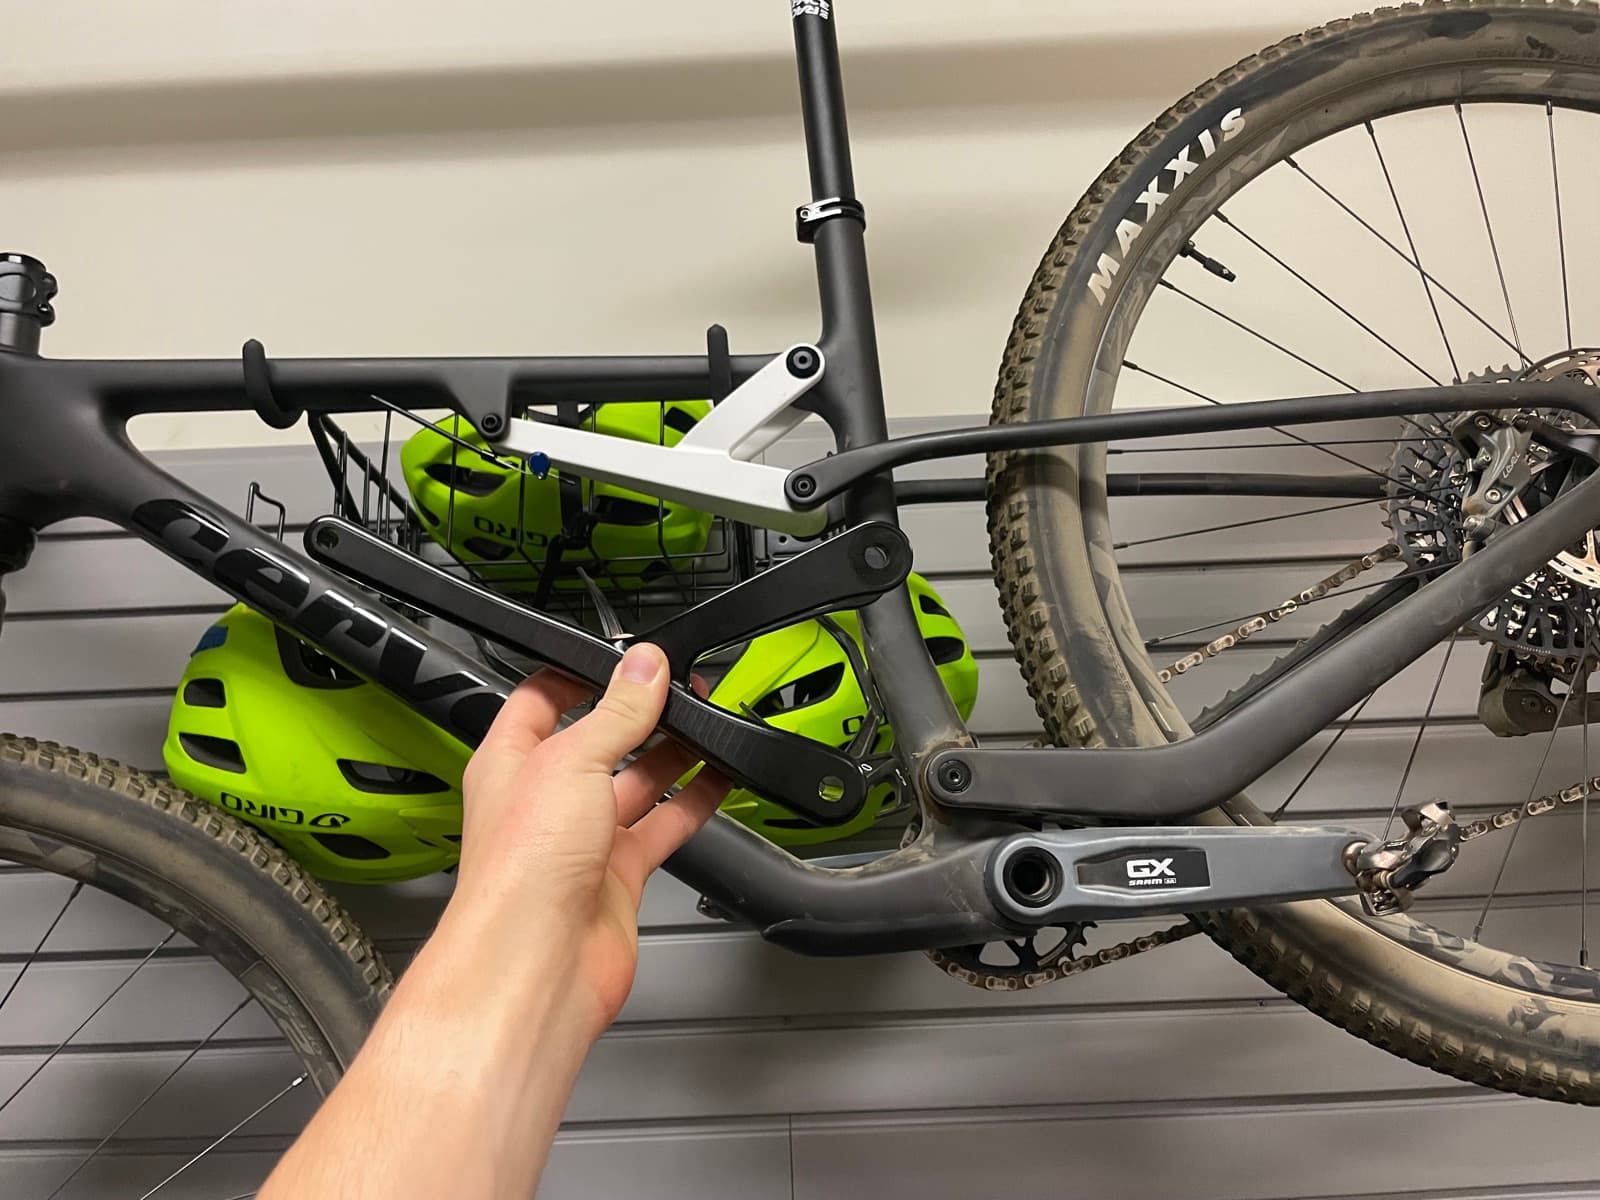
The day the package arrived was a great one, feeling the weight of the finished part in my hand made the whole project real. On the first test fit, one of the mounting holes was slightly out of tolerance, so, as any maker would, I took a drill to it, opened the hole up just enough, and the part seated perfectly.
The result
After months of work, seeing the final part, machined, anodized, and mounted on the bike, was incredibly satisfying. I've ridden the bike regularly in its hardtail form ever since. The frame is noticeably stiffer and I have no complaints.
All in all it was a fantastic project. It stretched my iteration and tweaking skills and pushed me to learn a genuinely new tool in FEA, exactly the kind of hands-on, figure-it-out-yourself challenge I love.