Quadruped Robot
Why a quadruped
This is the project I'm most excited about right now. It started as I was wrapping up college applications and thinking about what would push my robotics knowledge the furthest before college, right at the tail end of my first real robotics chapter. A quadruped kept coming up as the classic answer: it's the perfect excuse to get deep into classical robotics, kinematics, and controls all at once, so I decided to build my own.
Starting with a single leg
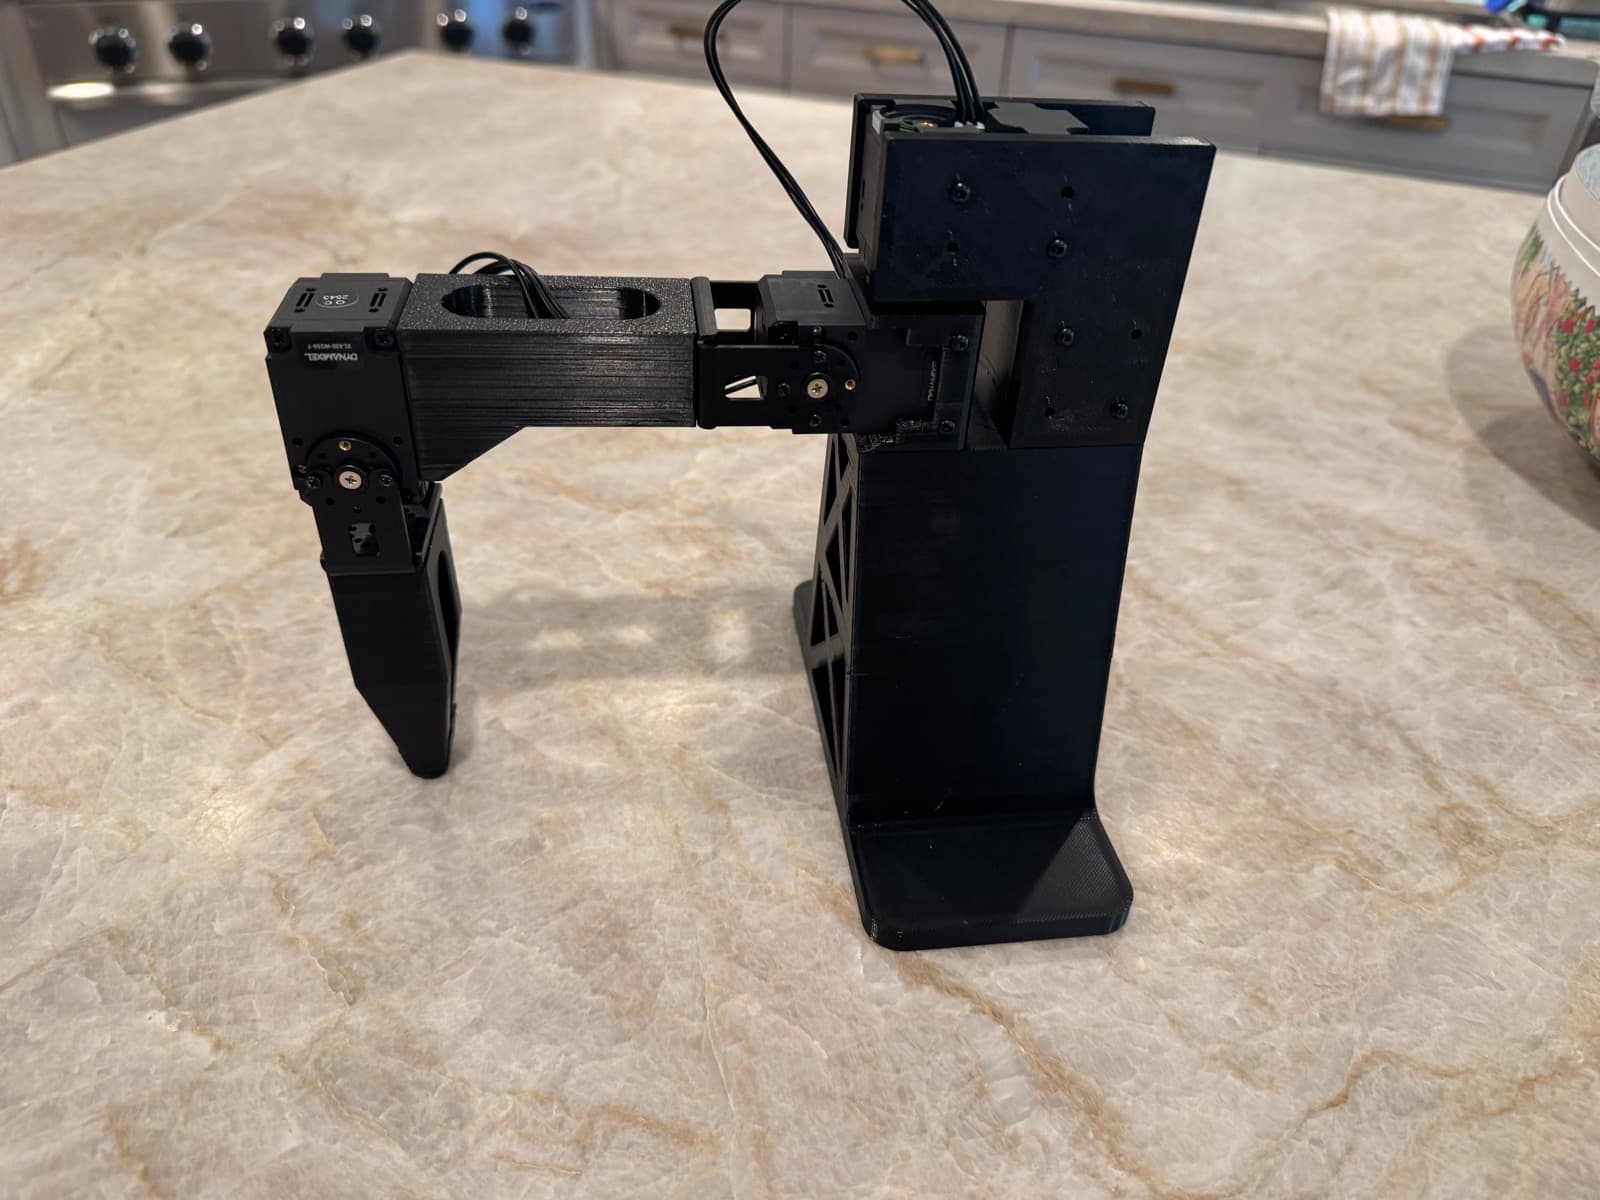
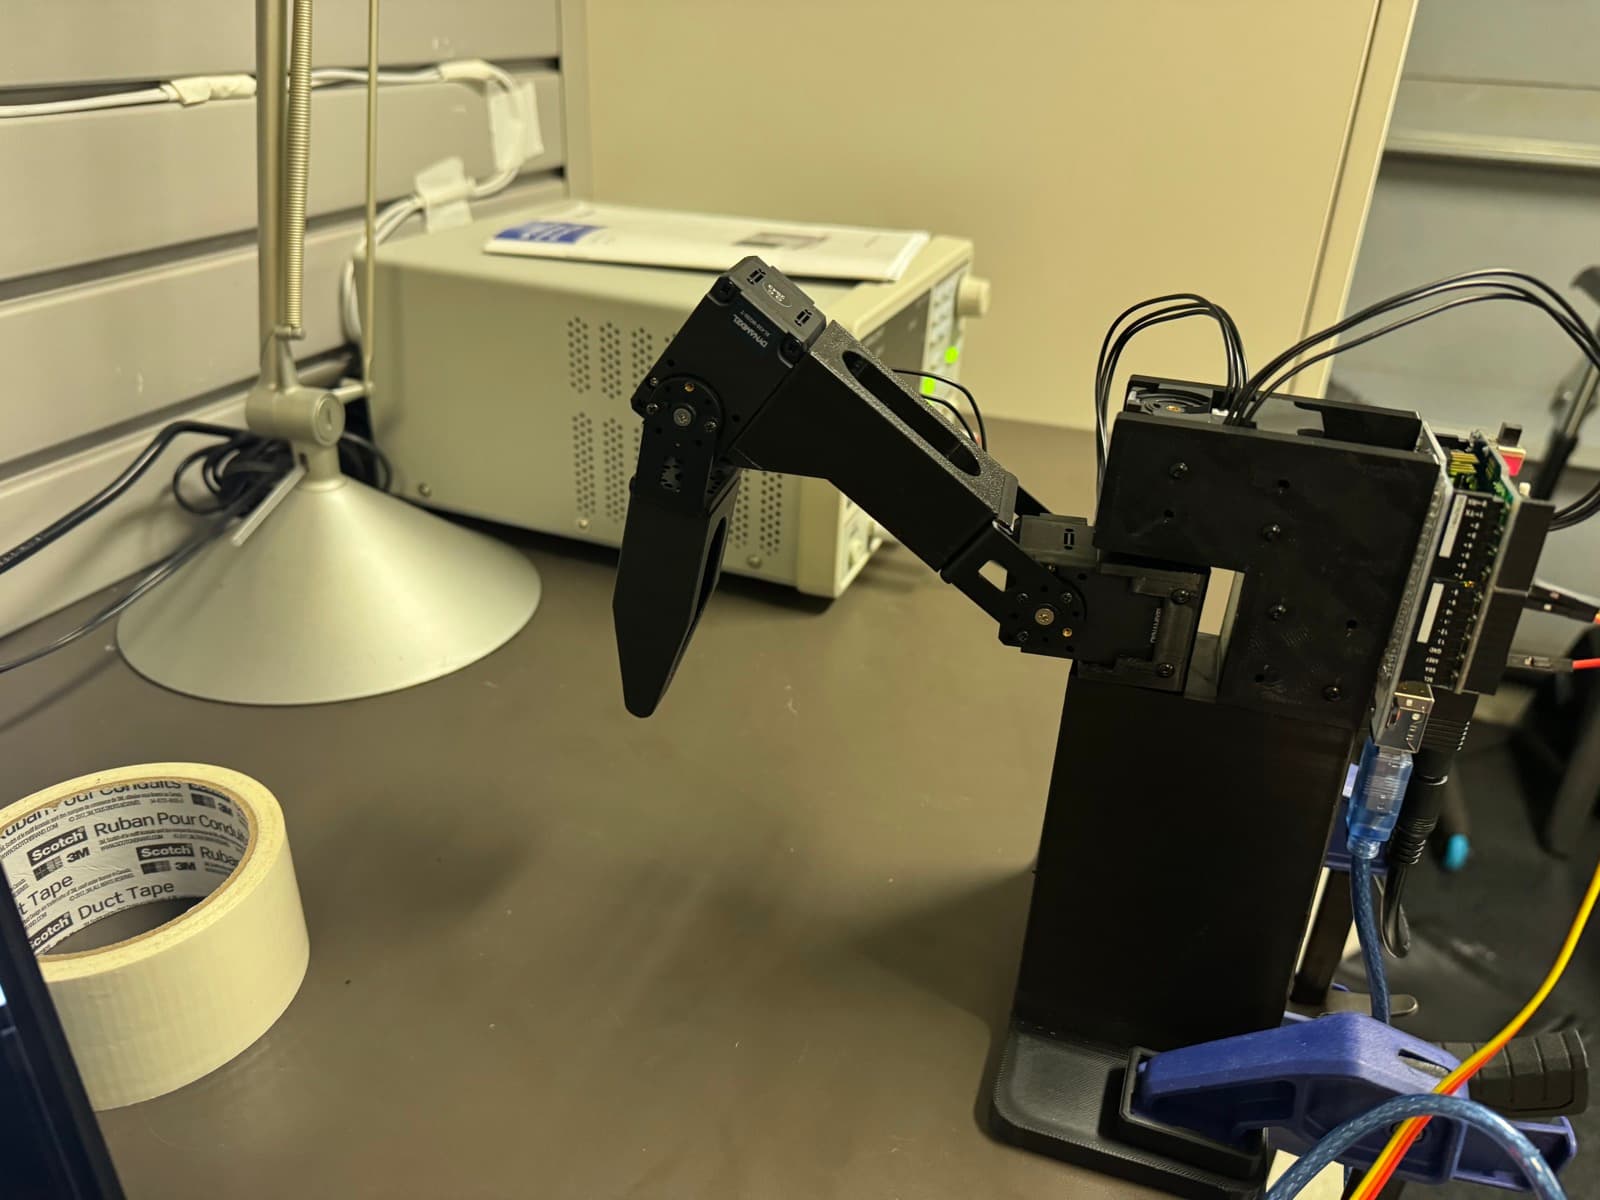
The smartest place to start wasn't the whole robot, it was one leg. If I could get a single 3-DOF leg working really well, I could replicate it four times over once it was time to build the full body.
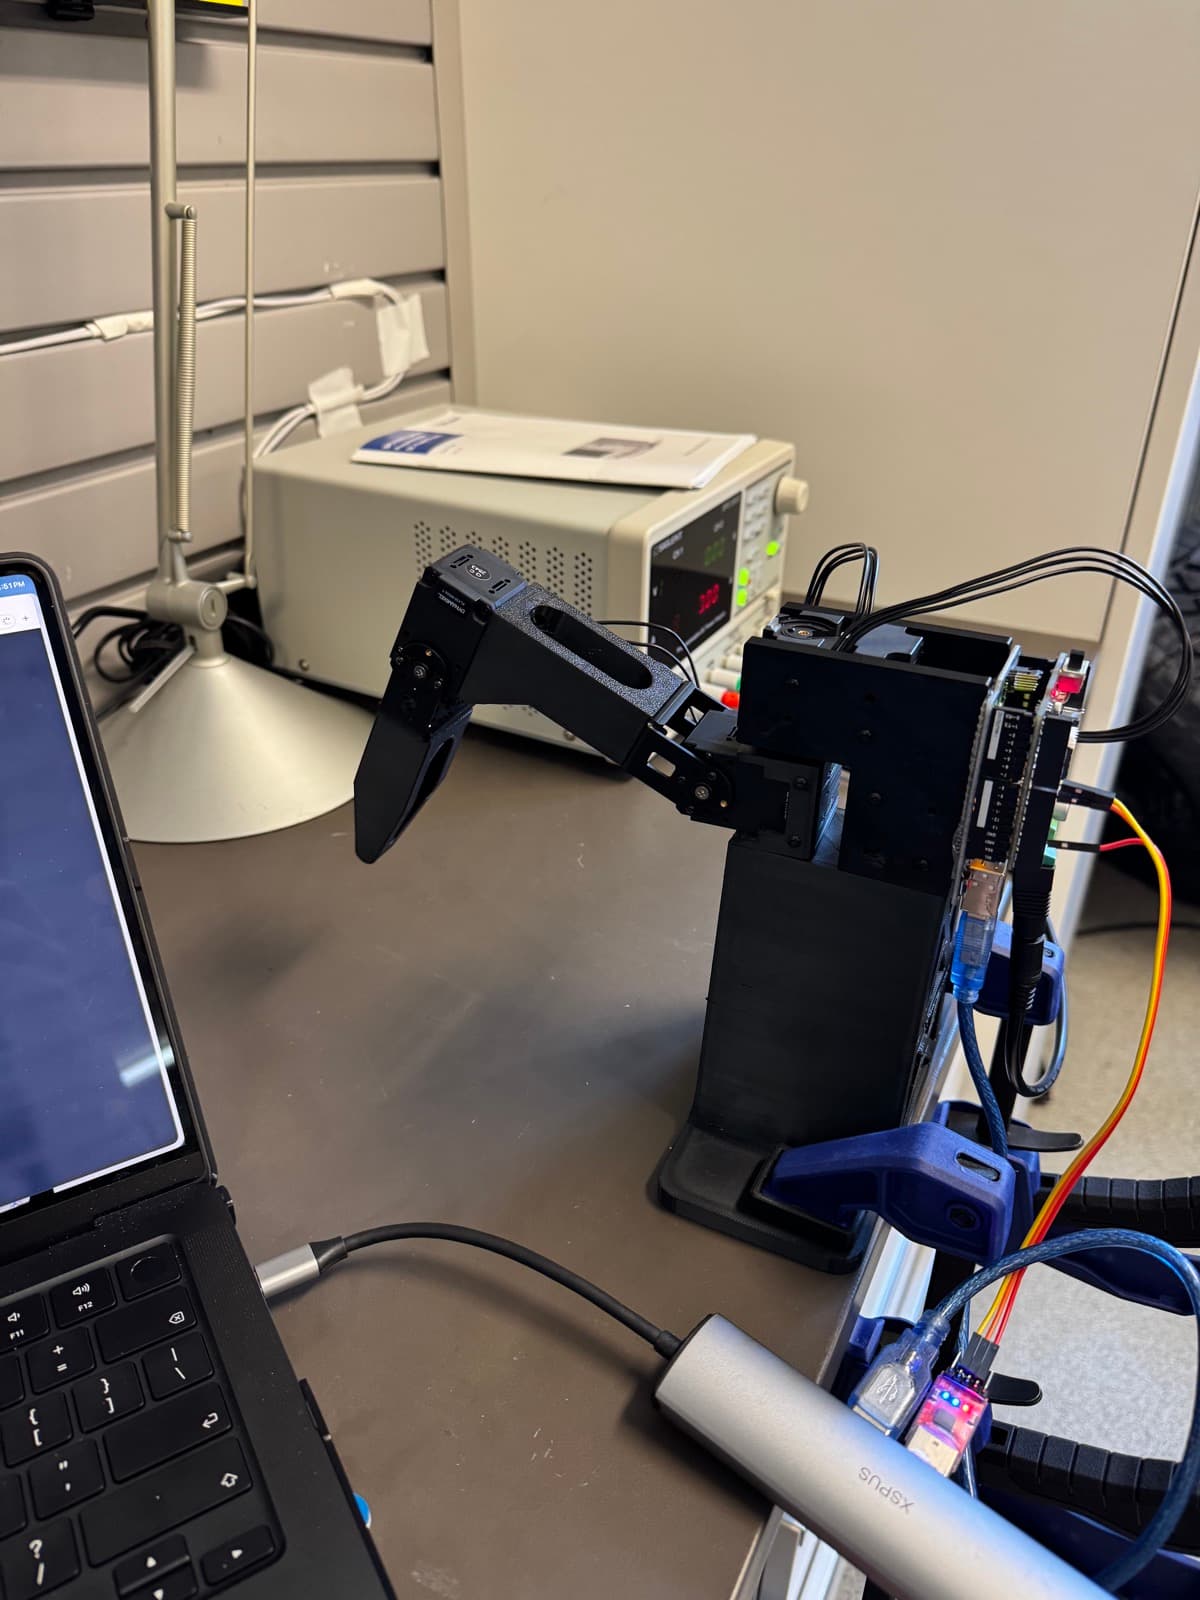
So I built a single-leg testbed on my workbench: three Dynamixel XL430 servos driven by a Dynamixel Arduino shield on an Arduino Uno, talking over a USB-to-TTL serial link and running off my bench power supply. That one leg became the platform for everything that followed, the place where I could actually develop and test motion before committing to the full quadruped.
One config, two worlds
The heart of this project is the software, and the idea I'm proudest of is keeping the simulation and the real hardware in lockstep. A single robot.yaml acts as the one source of truth for the robot's geometry, and both the MuJoCo physics simulation and the physical leg are driven from it, so the two never drift apart.
On top of that, I built a full control stack in Python:
- Inverse kinematics using a damped least-squares solver, with forward kinematics to validate it.
- Trajectory planning with cubic splines and Bézier swing curves for smooth foot paths.
- A gait state machine that produces a trot in simulation.
- Three backends, simulation, hardware, and a mirror mode that runs both at once, so a single command plays out in MuJoCo and on the real leg simultaneously.
- An interactive Dear PyGui interface with slider controls and an embedded MuJoCo view.
That mirror mode is my favorite part to watch, the same command driving the simulation and the physical leg side by side.
Watching it move
With the stack in place, I got the leg moving, first simple motions, then full planned trajectories tracked end to end. Seeing the physical leg follow a path I'd designed in code, matching what the simulation predicted, was exactly the payoff I'd been building toward.
Bringing the full quadruped to life
With the control stack proven on a single leg, the last step is scaling it from one leg to four. I've 3D-printed all of the leg parts, I'm into assembly, and I'm wiring up the electronics for the full body. The framework already handles the complete robot in simulation, so from here it's about the physical build catching up to the software. The goal is a walking quadruped, and it's close.