Microspine Climbing Robot
It started with my gecko
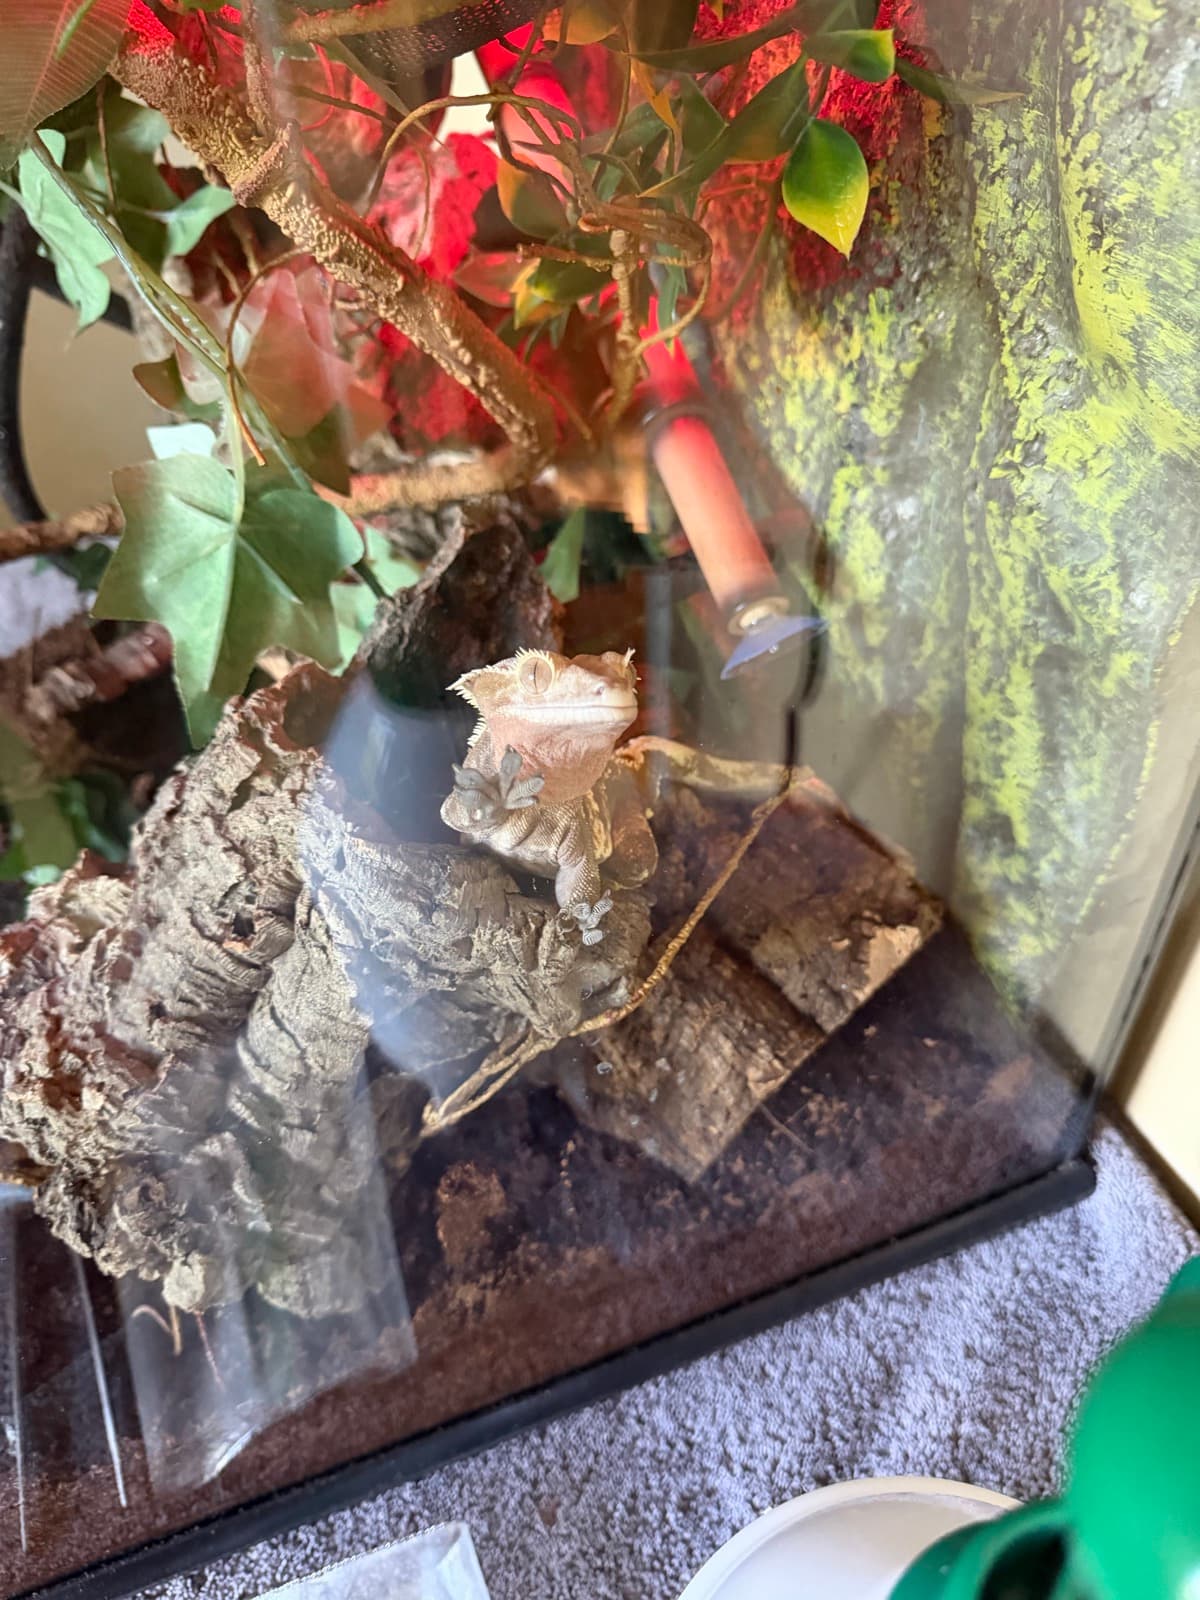
This one started with Sensei, my crested gecko. He's cute, he's a lot of fun to play with, and he's the whole reason this project exists. What fascinates me most about him, and honestly a big part of why I got him, is that he can climb just about anything.
The way geckos do it is incredible. Their toe pads are covered in tiny ridges called lamellae, which are lined with millions of microscopic hairs called setae, and each of those splits again into even smaller spatula-tipped ends. Stack up that much surface contact and the faint van der Waals attraction between the pads and the wall, the weakest force there is, becomes more than enough to hold the whole animal up. Even better, it's directional: a gecko engages the adhesion by loading its toes one way and releases it in an instant by changing the angle. Ever since I got Sensei I'd sit there watching him scale a vertical pane of glass and wonder how on earth you could replicate something that sticks hard yet lets go instantly.
Down the rabbit hole
It turned out I wasn't the first person to wonder this. I stumbled onto the Biomimetic and Dexterous Manipulation Laboratory (BDML) at Stanford, led by Mark Cutkosky, which was already chasing the exact question I'd had, building gecko-inspired directional adhesives for climbing robots. The deeper I went down the rabbit hole, the more I found, and the trail led to the microspine work at NASA's Jet Propulsion Laboratory, especially the robots built by Aaron Parness (who, fittingly, got his start at BDML).
The clever twist is that a microspine doesn't rely on van der Waals forces at all. Instead of smooth adhesion, it's an array of tiny steel hooks, each mounted on its own compliant suspension, that catch on the microscopic bumps and pits, the asperities, of a rough surface. Because each spine flexes independently, the load spreads across hundreds of them at once, and the robot hangs on. The one that really caught my eye was a small, manta-ray-shaped robot that climbed using two rollers covered in compliant microspine appendages that spun against the wall. It looked simple enough that I figured I could build my own version.
Starting with what I knew
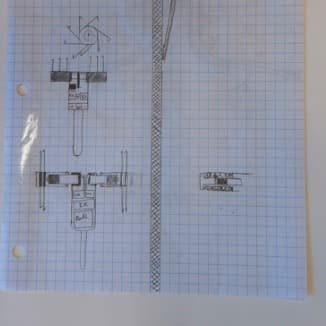
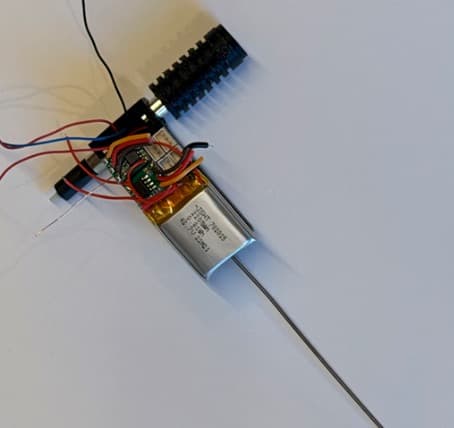
My instinct was to keep the first version as simple as possible and build on ground I already understood: RC cars. An RC car's electronics stack is about as straightforward as it gets, a radio receiver, ESCs, and motors, and I'd worked with all of it before on my own car projects. So I designed the whole robot around tiny planetary-gearbox motors and similarly small RC electronics I was already comfortable with.
The build
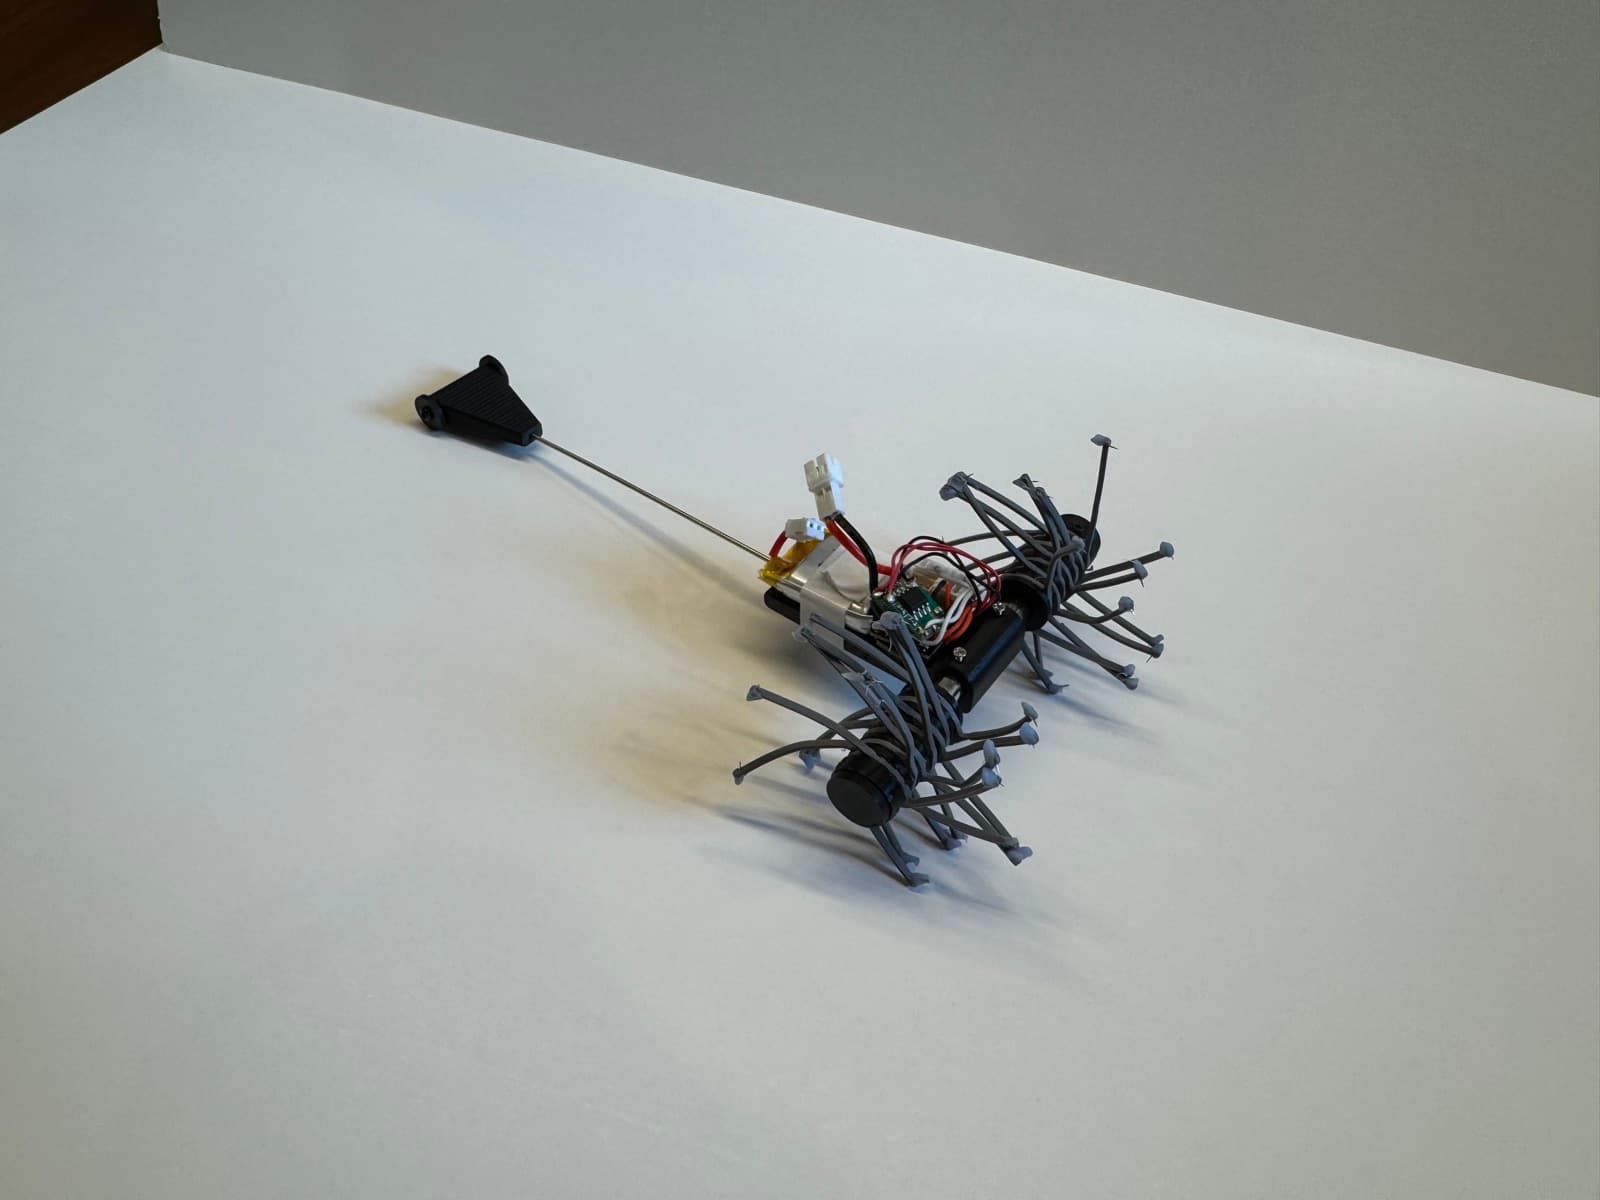
The hardware comes down to a few simple parts. The main chassis houses the electronics and the motors, and it also carries the tail. The tail matters more than you'd think for a climbing robot: look at the anatomy of any climber, a gecko, or even a squirrel, and you'll notice a long tail that works as a fifth limb and a balancing tool, keeping the animal pinned to the surface. I made mine from an airbrush needle with the sharp end cut off, capped with a 3D-printed tail piece riding on rollers.
The part I treated as the heart of the robot, and spent the most time on, was the rollers. Each roller starts as a 3D-printed core with intermittent slots for the appendages to snap into. Every appendage has three arms, and each arm holds a single microspine. Rather than pay for real microspines, I used a cheap stand-in: the fine tips I cut off 3D-printer nozzle-cleaning needles. All told, each roller carries around 27 of them.
It climbs
Once I synced up the two motors, the little robot could crawl its way up a wall. The build itself was simple, but that was never really the point, it gave me hands-on exposure to a whole branch of robotics and engineering I'd never explored before, and it made a question I'd been turning over since the day I got Sensei into something I could actually hold.
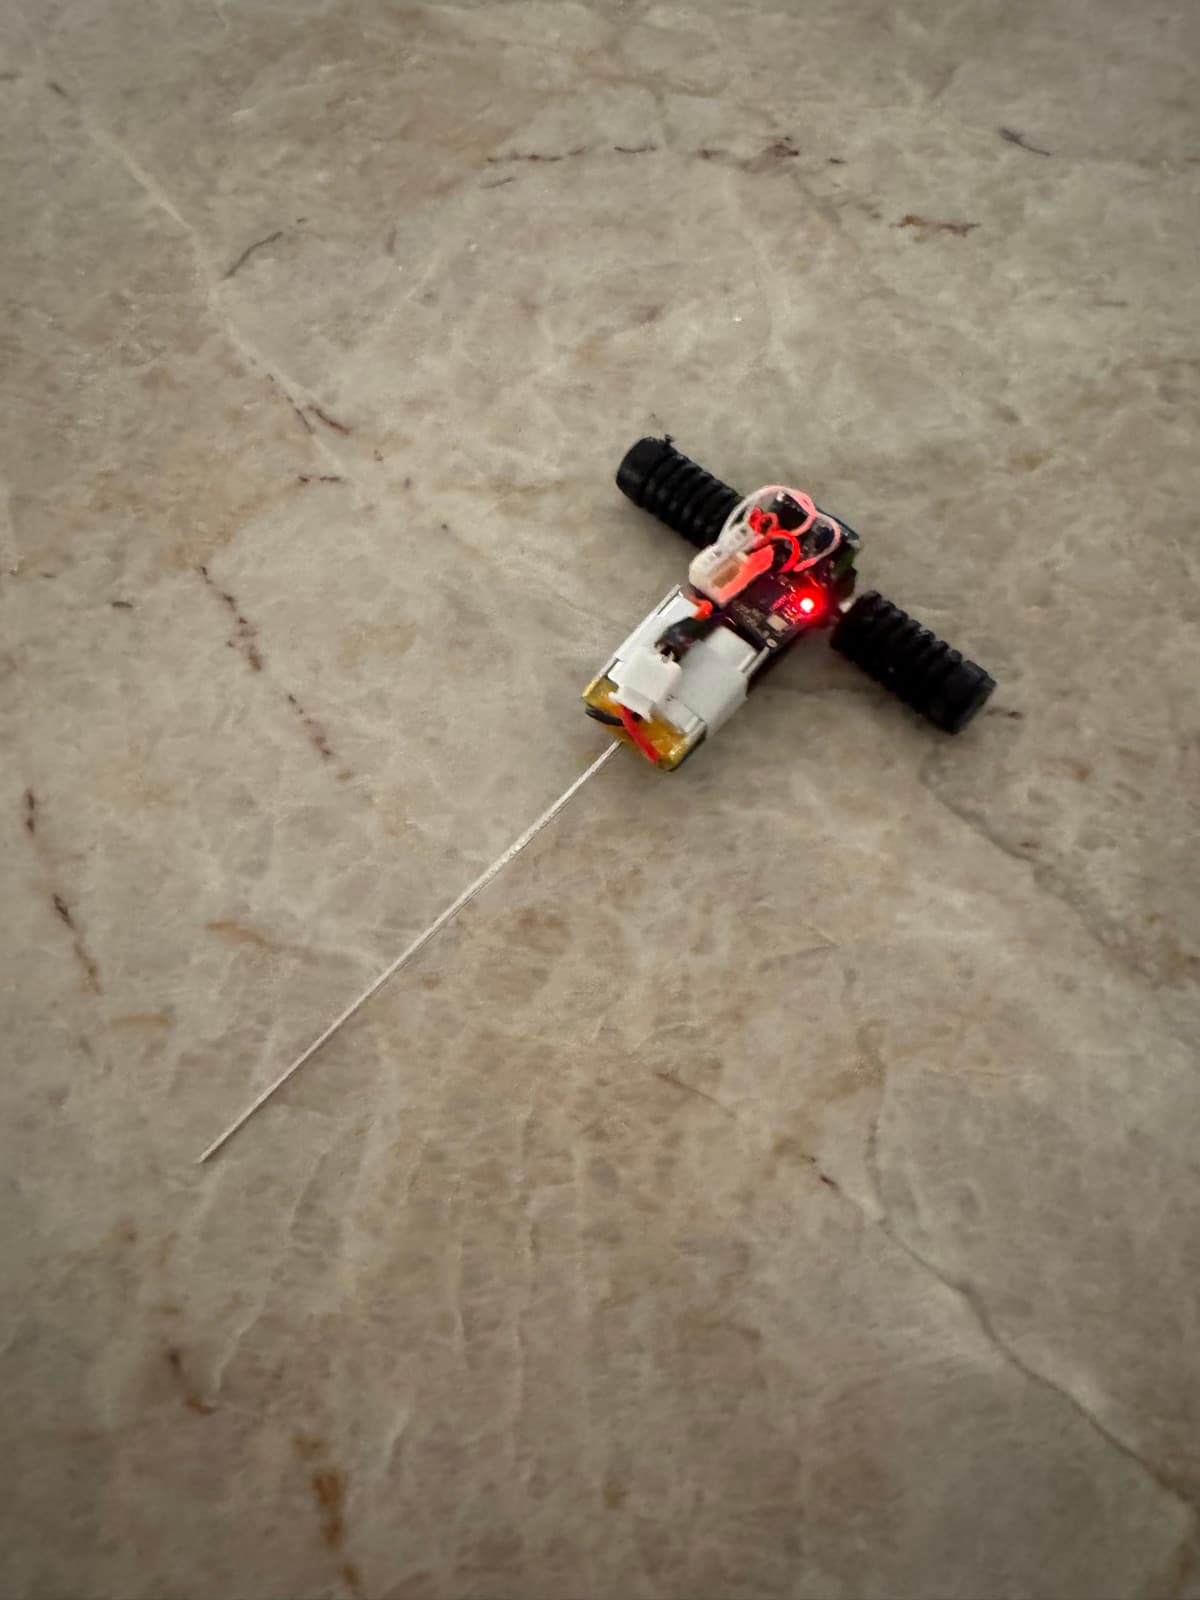
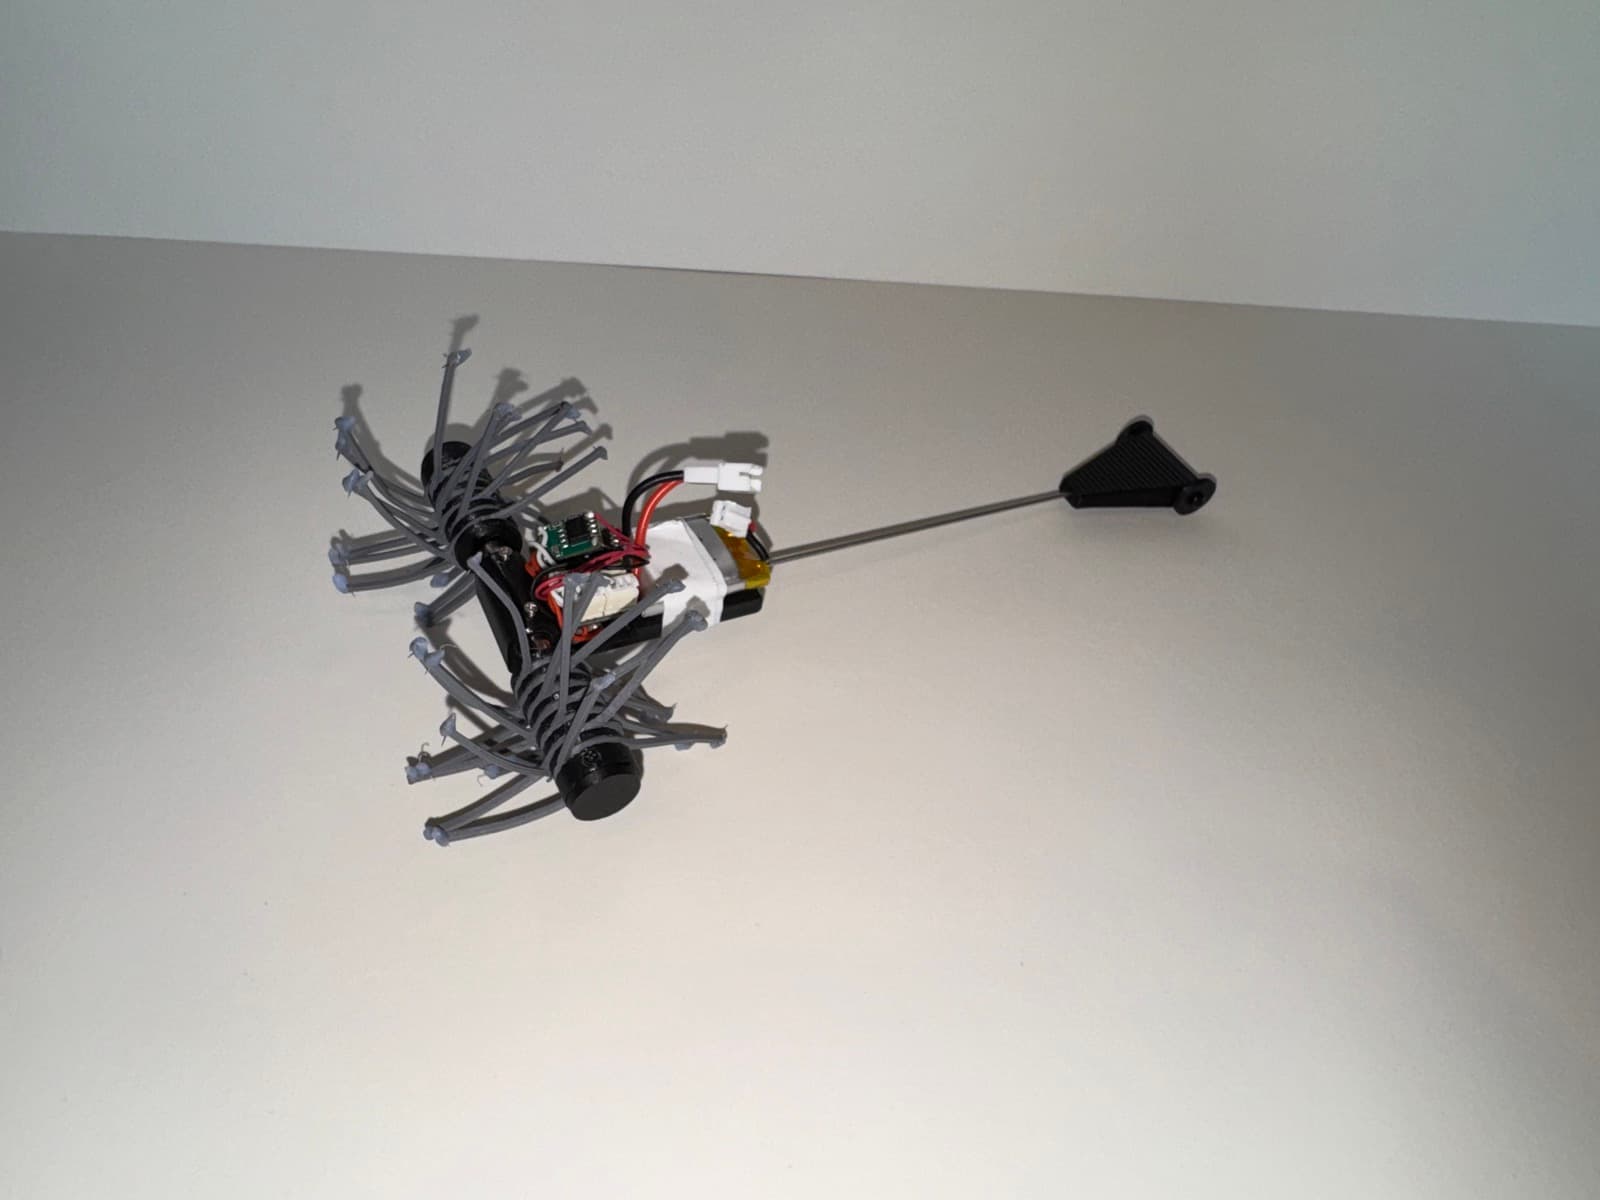
This is only the first iteration. Next, I want to design a version with an onboard camera powered by an ESP32, so I can drive it around with a regular Xbox controller through a GUI on my computer, and really put the microspines to the test.